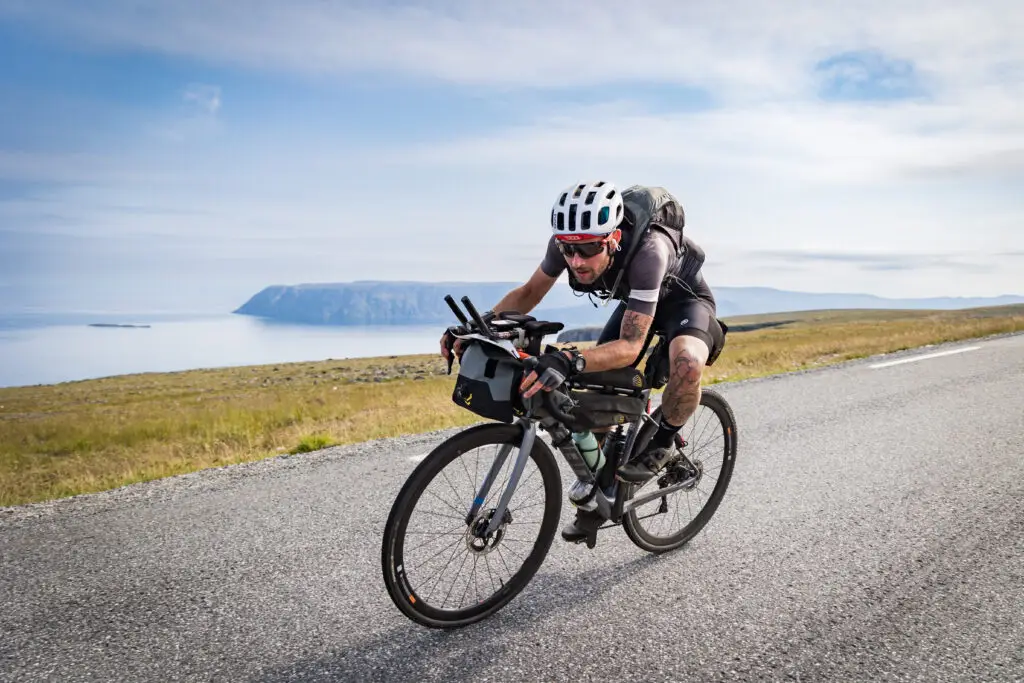
SECOND EPISODE OF THE SERIES ON BIKEPACKING
The equipment that makes the difference
Introduction
Welcome to the second episode of the series on bikepacking! This time, we dive into a crucial aspect of any adventure: gear. We will discover together how to best choose and use bikepacking bags, one of the essential tools for a comfortable and organized travel experience.
I will also share my personal experience with Selle San Marco‘s set of panniers, which has proven to be an indispensable ally during my most challenging trips. If you are ready to optimize your travel kit, this episode is for you!
The ‘typical equipment used in bikepacking
Bikepacking has profoundly changed the traditional approach to bicycle travel, which is characterized by the use of panniers and racks. Bikepacking panniers can be mounted on almost any type of bicycle without requiring a rack, making them extremely versatile. With proper care, they can be adapted to both road and mountain bikes, allowing them to carry the equipment needed for both a weekend with friends and long crossings.
Over the years, I have noticed that regardless of the length of the trip, whether it is three days or three months, I tend to carry almost the same gear if I opt for bikepacking bags. Recently, many variations of the classic bags have developed, but let’s briefly look at some of the early types introduced to the bikepacking world. One of the significant advantages of bikepacking is the ability to ride the bike off-road, even on narrow trails, which is difficult to achieve with the classic set-up because of the weight and bulk of traditional panniers.
I recently had the opportunity to put Selle San Marco ‘s bikepacking set to the test during my latest exploration on challenging trails. The set stood out for its extraordinary strength and light weight, features that are essential to best meet the challenges of long bikepacking trips. The quality of materials and attention to construction details made each component of the set a reliable ally in the most diverse situations, from long climbs to technical downhill sections. The ability to adapt to various types of bicycles and configurations, coupled with the ease of assembly and disassembly, helped make the travel experience smoother and less burdensome. The balance between functionality and design did not fail to leave a positive impression, confirming Selle San Marco’s reputation as a brand capable of combining performance and aesthetics in products designed for the most demanding cycling enthusiasts.
The bags
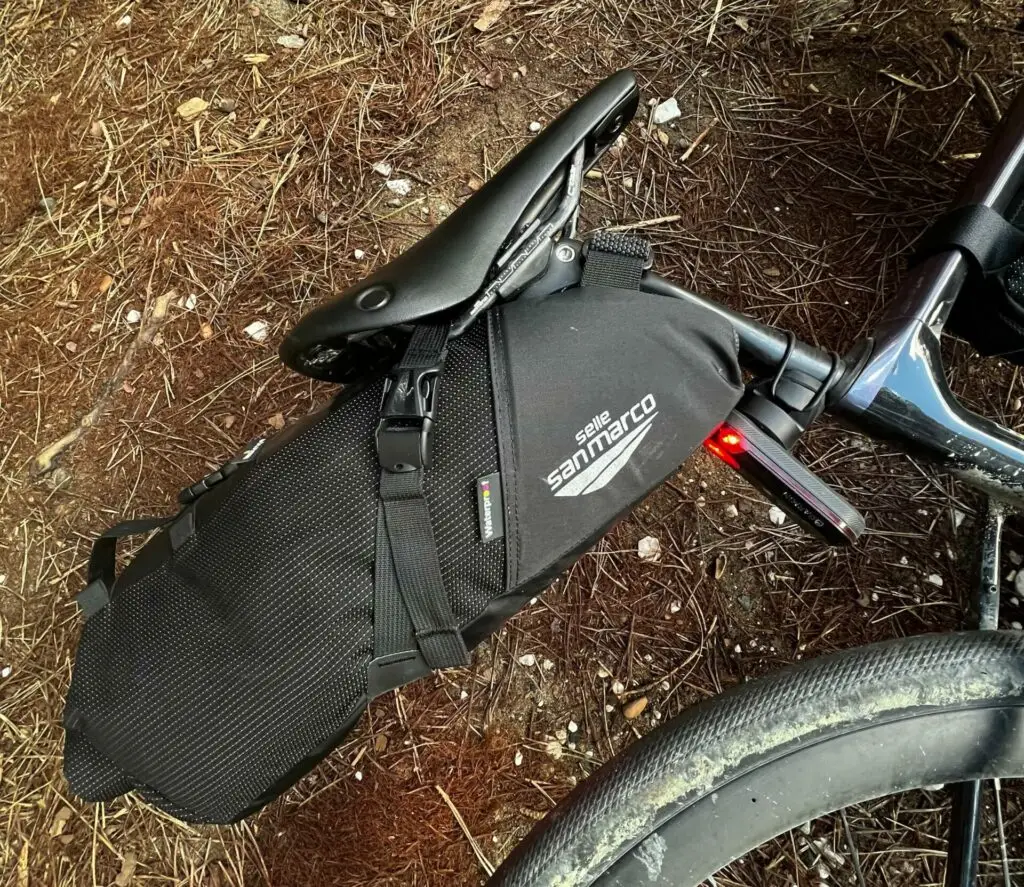
Saddle Bag
Let’s start exploring the bikepacking set from the back of the bike: the saddle bag or saddle bag. This type of bag, which is installed under the saddle, provides easy access and I usually store items there that I need quick access to. It features the ability to be easily opened, without having to get off the bike, simply by unhooking the rear clip. Generally, I store warm clothing in this bag, which I may need during the ride.
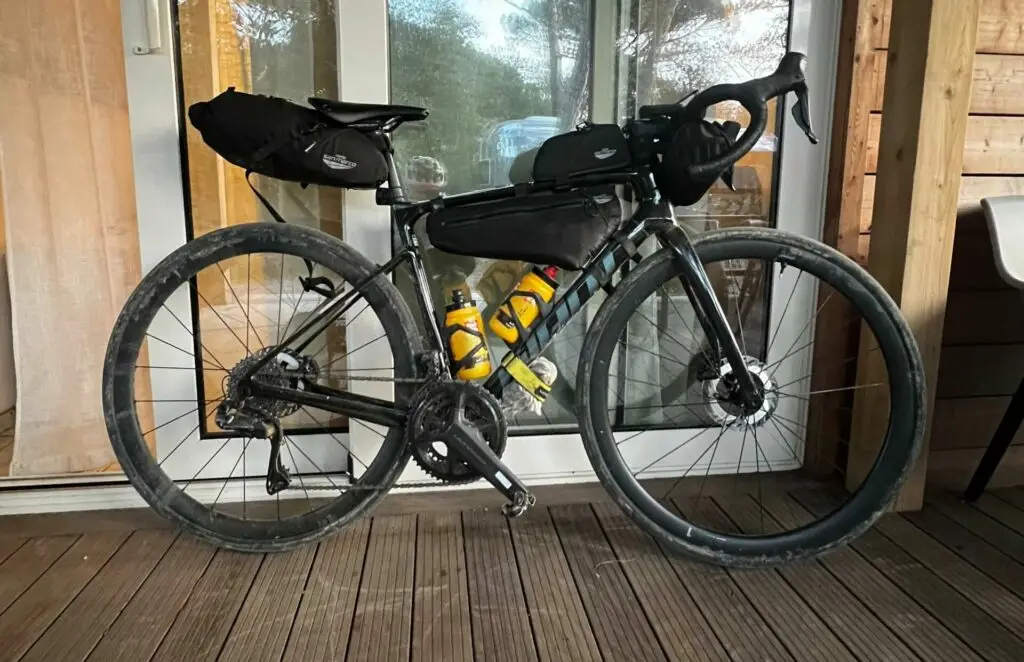
Frame Bag
In the middle part of the bicycle we find the frame bag, which can vary in shape and size and tends to occupy the empty space of the frame triangle. This bag can be small, leaving the lower frame space free for water bottles, or it can be a Full Frame bag that covers the entire frame triangle. In the latter case, you gain in carrying capacity, but you need to find alternative solutions for water bottles, such as mounting them on the fork or using a water backpack.
By placing this bag in the center of the frame, it affects the bike’s center of gravity in such a way that, once mounted, its presence is almost imperceptible. Generally, at the lowest part of this bag I store heavy items, such as multi tools or extra pieces for travel. This bag is also easily accessible, especially if, as in the model offered by Selle San Marco, it has a large zipper that allows it to be conveniently opened while pedaling.
Frame bags can hold bivouac equipment, rain jackets and waterproofs as needed.
Handle Bar Bag
The third bag introduced to the market was the handle-bar bag. Although similar bags were already used in classic travel setups, bikepacking bags were adapted to fit without the need for additional mounts, making them compatible with any type of handlebar, whether for mountain bikes, road bikes, or gravel bikes.
There are different sized bags, from the smallest, suitable for weekends, such as Selle San Marco’s waterproof, compact and lightweight model, to the larger ones, ideal for carrying more equipment.
Of the various bikepacking bags, the handlebar bag takes the longest to assemble and disassemble, so I usually store items in it that I plan to use only once a day, such as camping gear, sleeping bag, bivouac bag, and leisure clothes, in case I decide to carry them. Many models of this bag allow you to add an additional bag, called an accessory bag, to increase the carrying capacity. In this smaller, but easily accessible bag, I store items that I need to grab quickly, even while pedaling, such as a light, power bank, wallet, neck warmer or thermal hat.
Top Tube Bag and other bags
Another notable bag in the bikepacking world is the top tube bag, which attaches to the top of the frame. Available in varying sizes, it is particularly practical for storing items for use while on the move, such as energy bars, chapstick or other small accessories. The top tube bag proves extremely useful for bikepackers.
In addition to this, there are several other types of bags, such as pannier bags and fork mounts. It is also important to mention the new hybrid models that are emerging in the industry, such as removable racks and solutions that are a compromise between traditional and bikepacking bags.
The field is constantly evolving, and although there would be much more to say, time is limited. However, if you are curious to delve into all the secrets of bikepacking with a professional approach, I suggest you visit my website at the Courses page and sign up for the newsletter to stay updated on upcoming courses, which I usually organize in the winter time, which is ideal for dedicating yourself to learning.
To give you an idea of how I organize my gear, if you are interested in seeing what I took with me on the long crossing from Turin to the North Cape along the NorthCape4000 last year, you can check out my Instagram page. There you will find all the dedicated gear reels. To access them directly, I invite you to follow this link.
Don’t miss the next episode!
To stay up-to-date on the series and discover new tips, sign up for my newsletter. Stay tuned, because the next episode will be all about planning and the details that make a bike trip an unforgettable experience!
Explore the world of bikepacking and take advantage of 15% off Selle San Marco products
Visit the Selle San Marco website and use the discount code: PEPPE-SSM.
Thank you for being part of this community of passionate cyclists.
See you in the next episode, always riding!
Want to stay updated on upcoming adventures and reflections in the world of bicycle touring, sign up for my newsletter
Stay connected and join our community of passionate cyclists!